
After the successful solar project, with which we were able to fully cover our energy costs during the day, we also wanted to generate electricity at night. We have chosen wind energy for this purpose using a small wind turbine for homes. At the moment we want to get by without a battery. Only when it is economically interesting will we think about using a battery as a buffer for solar energy. The life expectancy of a battery is crucial for us.
Vertical Wind Turbine Generator video
For this wind energy project we practically need two parts: First a wind generator to generate electrical energy and second a grid tie inverter that uses the energy from the wind generator and synchronizes the voltage and frequency with the grid.
For the inverter, we chose a 2000 watt, 48 Volt Grid tie Inverter from China, which is offered by Marsrock (www.marsrock.com.cn) and sold via AliExpress. The inverter was offered for Euro 298.77 without shipping costs . Total Euro 332.43. including shipping costs.
For the wind generator we chose a 2000 Watt (three-phase generator) vertical wind turbine generator Made in China model SX3 2000W 48V from Smaraad Official Store, which is also sold through AliExpress. The wind generator was offered for Euro 263.93, apparently we received a discount and paid Euro 250.73. We also didn't have to pay any shipping costs.
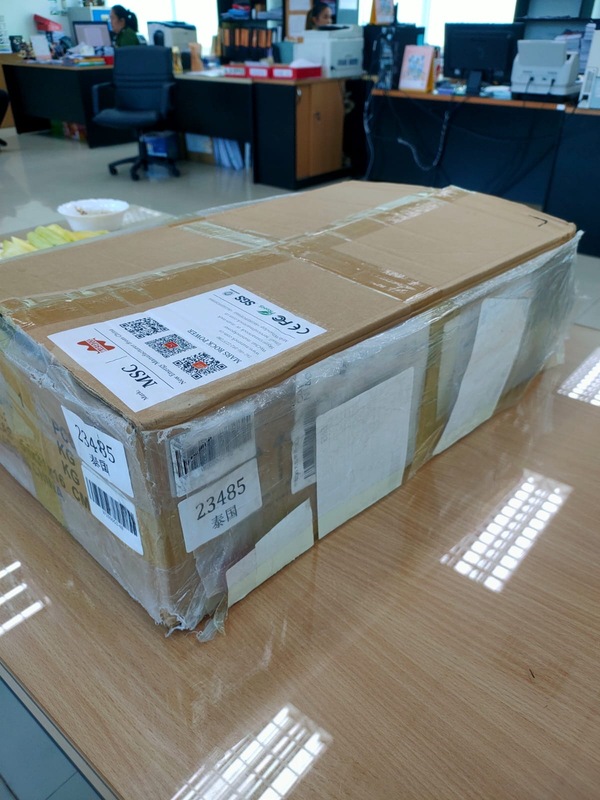
Because of the Thai import tax, we had to drive about one hour to pick up the inverter in a neighboring province. There it was standing on a table, still wrapped, we had to open the package ourselves because the employees seemed to be too scared because they didn't know what was in the package. We paid about 1,500 baht import tax and were able to take the package with us.
Specification of the Grid tie micro inverter
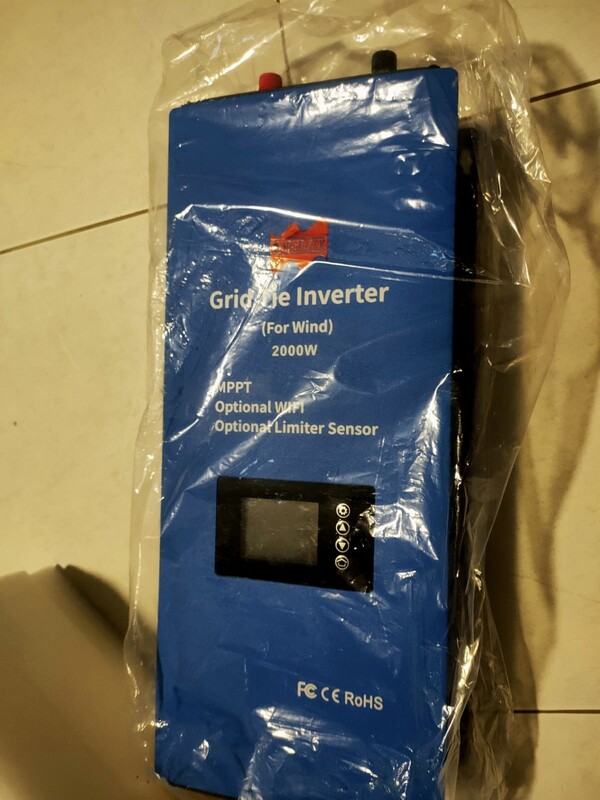
Our inverter is still encased in transparent plastic
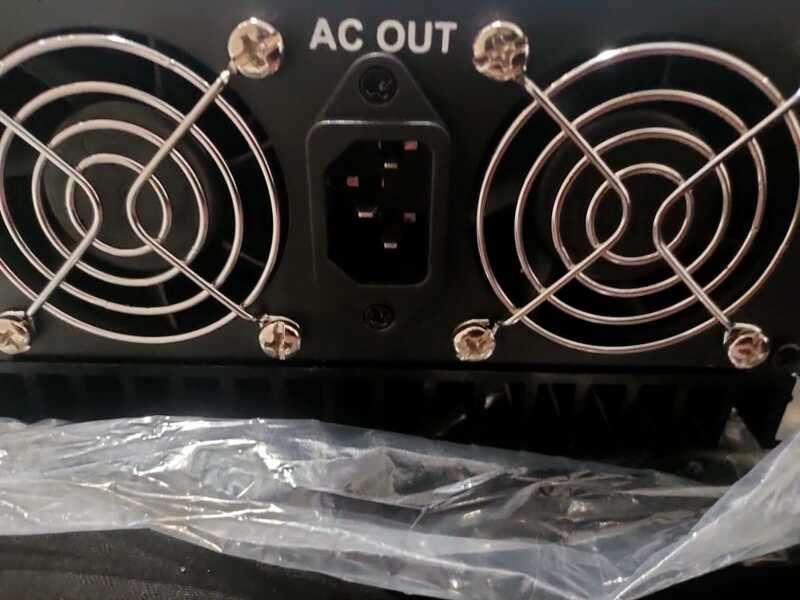
Bottom view of the inverter with cooling fans and grid connector
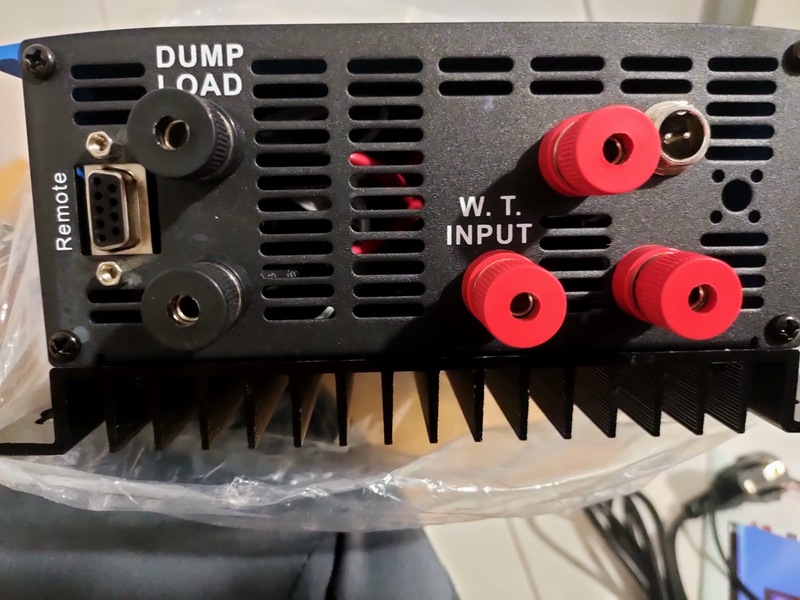
View of the top of the inverter with WiFi connection (remote), 2 connection terminals for load resistor (dump load), connection for external power transformer and 3 connection terminals for the AC 3-wire wind turbine.
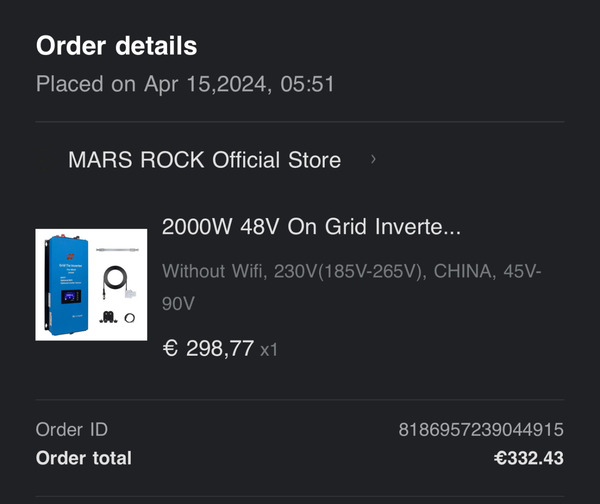
Order details and cost of the inverter
Introduction of Sunshine Grid Tie Inverter for Wind Turbine
Sunshine Grid Tie Power Inverter is the worlds most technologically advanced inverter for use in utility-interactive applications. The manual details the safe installation and operation of the Sunshine Grid Tie Inverter. This integrated system maximizes energy harvest, increases system reliability, and implies design, installation and management. The small type wind grid tie power inverter can obtain the wind energy from wind turbine, and can tie to the grid through its output cables with no extra equipment. The installation is very convenient and reliable. We call the system combining with small grid tie inverter and wind turbine as SGWT. The system includes wind turbine and small grid tie inverter and installation kit, and some SGWT also will include controller, dump load resistor. The inverter can be connected to any outlets of utility grid at house. The small grid tie inverter monitors the volume, frequency and phase of the home utility grid, then produce pure sine wave AC power that the frequency and phase are as same as the grids, and the volume is a bit higher than the grids, then according to the current controlled PWM, to control the output power to the grid. The small grid tie inverter just puts out power when the home grid is on. When the wind turbine is rotating, and the output of the voltage is in the range of the rated input voltage of the inverter, the wind turbine will produces power, and the grid tie inverter will change the power from wind turbine to the home grid. When the total power of electric apparatus that are using in the house is larger than the output power of the inverters, these power from the inverters will be consumed in the house, this will slow down the power meter, otherwise, the difference of the output power of the inverter between the total used power of the apparatus will go out from the house to the out grid.
A Small Grid Tie Power System with the Sunshine Grid Tie Inverter
Shortly after we picked up the inverter, also the wind turbine was delivered to our home. We had to pay import tax for the wind generator upon delivery (750 Baht), this time directly to the transporter. The wind turbine comes with a MPPT controller which we do not use, (the MPPT controller is used to regulate the charging of a battery).
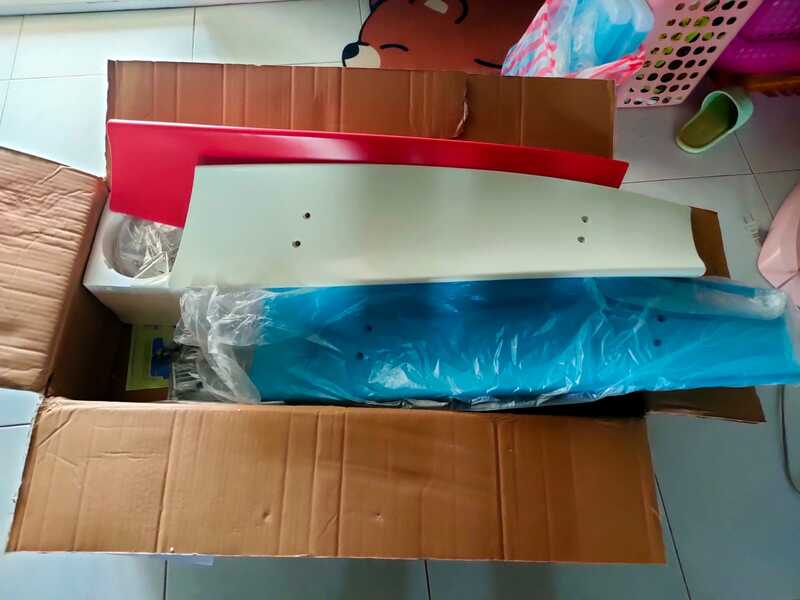
Unpacking the wind turbine
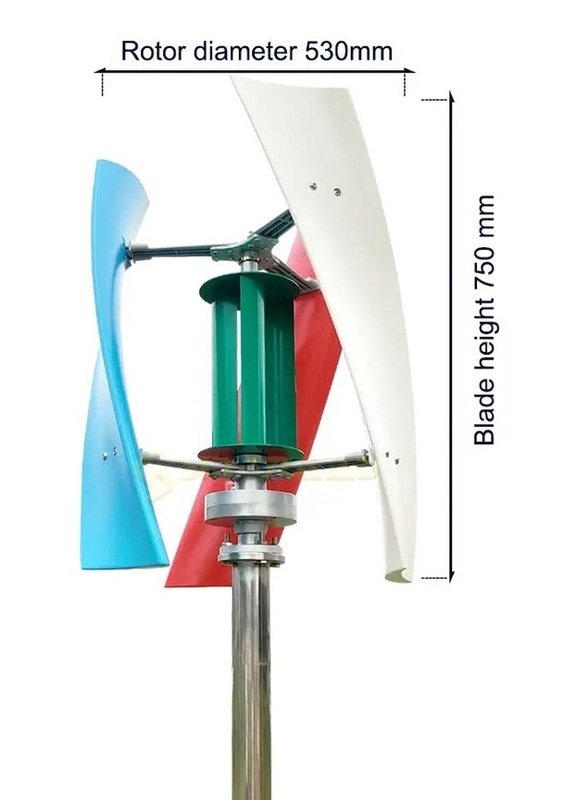
View with dimensions of our new three-color wind turbine. Height: 75cm, width 54cm.
Specification of the Wind Generator
To get an idea of the strength of the wind, we ordered also a simple anemometer. The anemometer can display the wind strength in Beaufort, mph, ft/min, km/h, m/s and knots. Seriously, we are most interested in m/s (meters per second) and km/h (kilometers per hour). The idea is to install the wind turbine under the house because there is almost always a draft there and it is also dry.
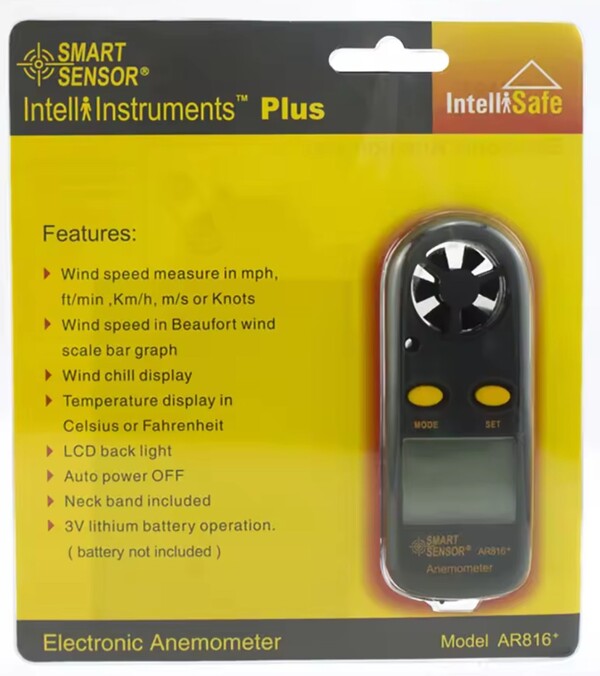
Wind strength basics
Conversion km/h to m/s: 10 km/h : 3,6 = 2,78 m/s
Conversion m/s to km/h: 10 m/s x 3,6 = 36 km/h
Conversion Beaufort to m/s:
Beaufort 0 = 0 to less than 0,3 m/s
Beaufort 1 = 0,3 to less than 1,6 m/s
Beaufort 2 = 1,6 to less than 3,4 m/s
Beaufort 3 = 3,4 to less than 5,5 m/s
Beaufort 4 = 5,5 to less than 8,0 m/s
Beaufort 5 = 8,0 to less than 10,8 m/s
Beaufort 6 = 10,8 to less than 13,9 m/s
Beaufort 7 = 13,9 to less than 17,2 m/s
Beaufort 8 = 17,2 to less than 20,8 m/s
Beaufort 9 = 20,8 to less than 24,5 m/s
Beaufort 10 = 24,5 to less than 28,5 m/s
Beaufort 11 = 28,5 to less than 32,7 m/s
Beaufort 12 = greater than 32,7 m/s
Since no mounting base is supplied with the wind turbine, we had to fabricate something ourselves. Fortunately, a loose flange is included which serves as the basis for a mounting base. Since we are still in a test phase, we constructed a steel mounting base that we welded and which is also used to mount the parts of the turbine. The tube is used to hold the cable that comes from the generator.
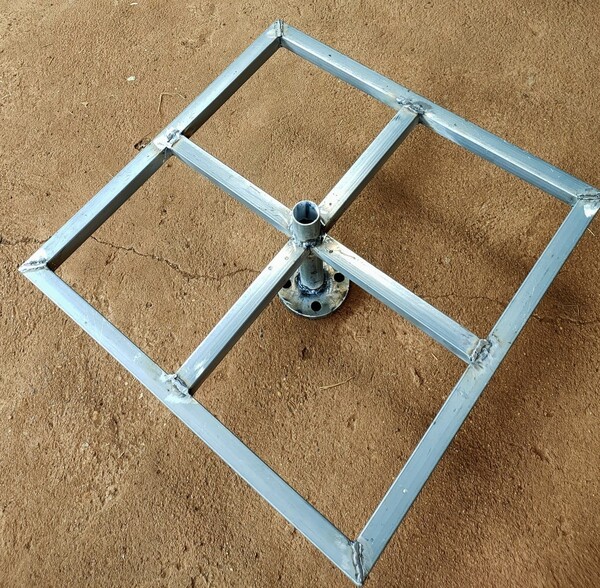
The mounting base upside down
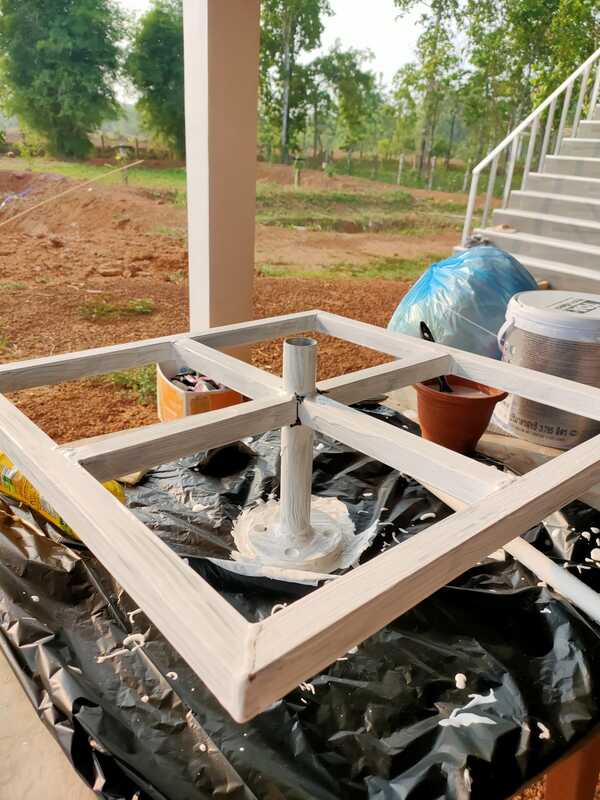
As always we give things a paint job - white, to protect the steel.
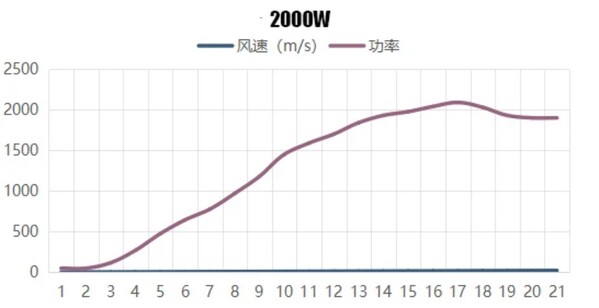
The curve shows the expected power in watts (red line) in relation to the wind speed in meters per second.
After the base was painted, the rotor could be mounted. It spins very souple. In the background you can see the moving flag, we can expect some wind under the house.
The amazing result of assembling the individual parts of the wind generator using the instructions provided by the manufacturer we can see on this video, some steps seem to be missing from the instruction manual.
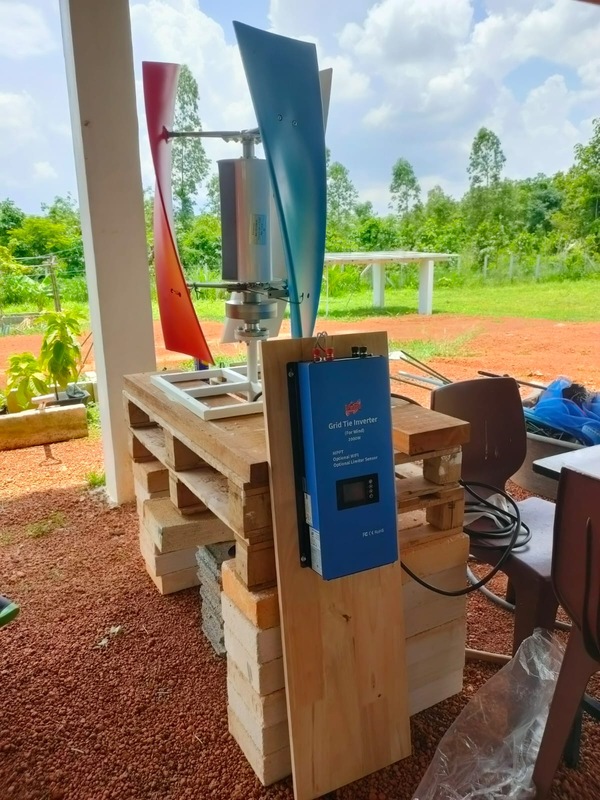
Everything is connected and installed. We can start the test drive. The final position of the wind turbine still needs to be determined.
Thailand pictures and videos can be used and shared with others if the originated page is credited. For credit use this link: ThaiHome.pics Thank you! | Q&A
Content last change: June 28 2024