
Friends were interested in a solar system to save some monthly cost. Based on the monthly electricity consumption we made a design for a system. Shortly afterwards, the solar system was installed on a shade-free roof. The experience with our own solar system was very helpful to us.
We took a photo of the shadow at different times of the day, morning, noon and afternoon. This meant that the front part of the roof was very suitable for installing solar panels and had sun all day long.
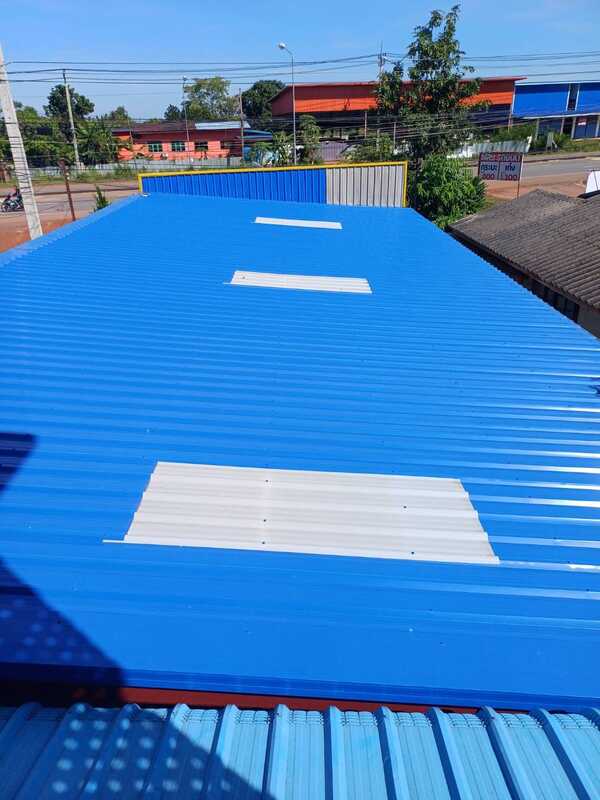
The shadow on the roof in the morning
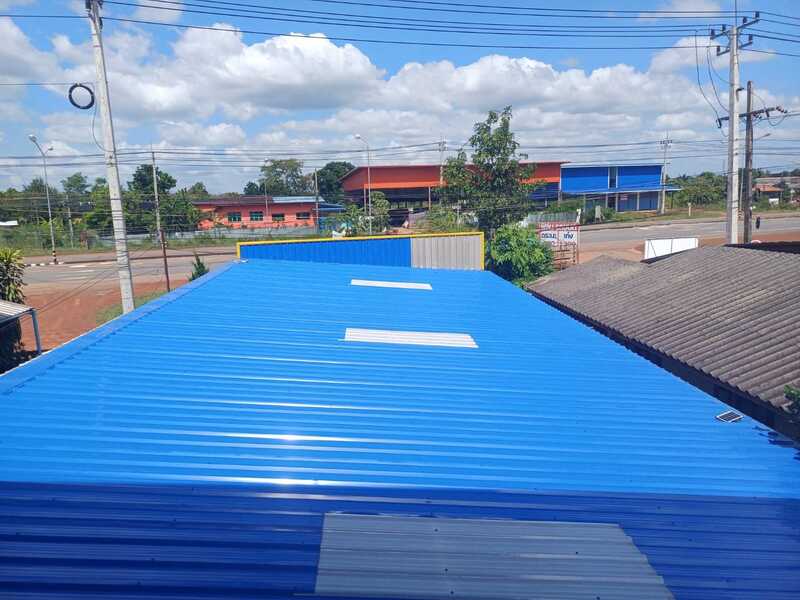
The shadow on the roof at midday

The shadow on the roof in the afternoon
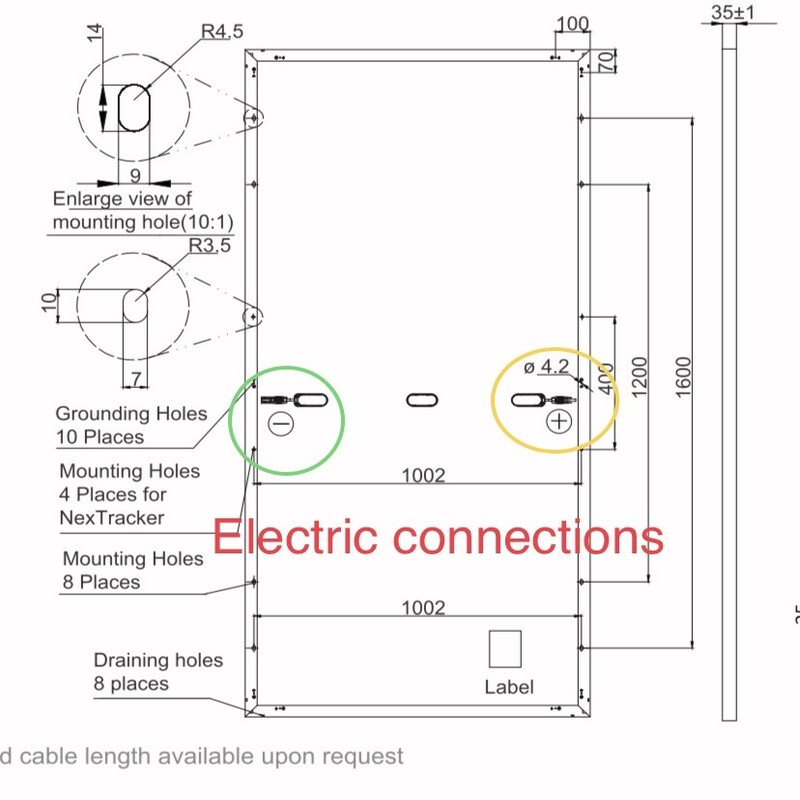
For the solar modules, we choose eight 550 watt modules (JAM72S30-550) from JA Solar (www.jasolar.com) with the following parameters and specifications.
Specification JA Solar JAM72S30-550
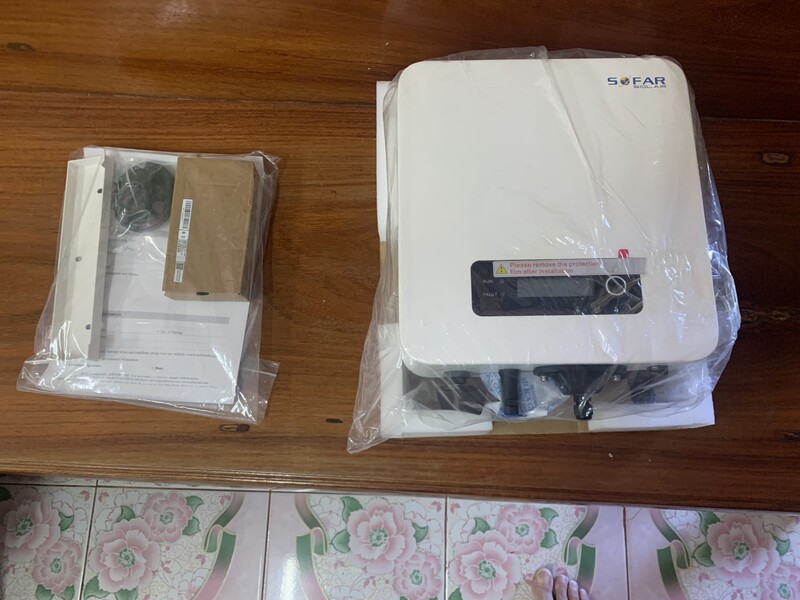
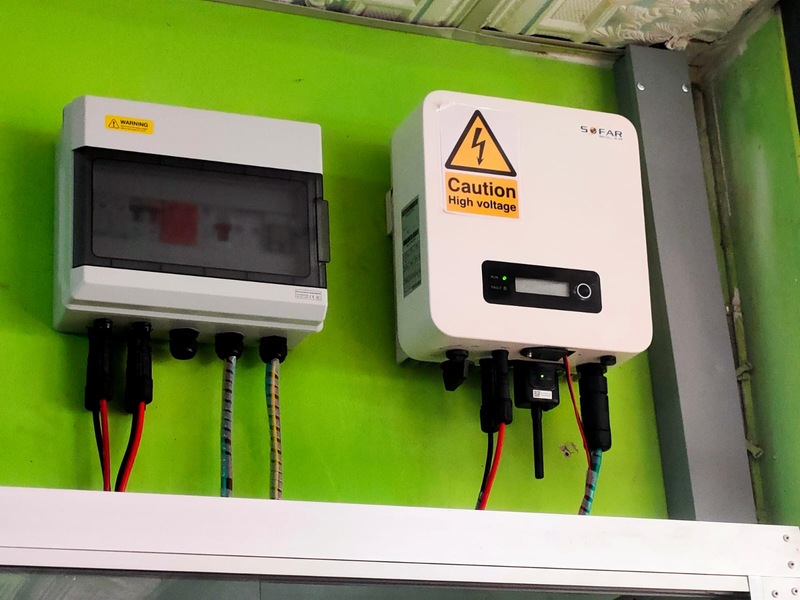
For the solar grid tied inverter we choose the 3300TL-G3 3300Watt inverter from SOFAR with the following specifications.
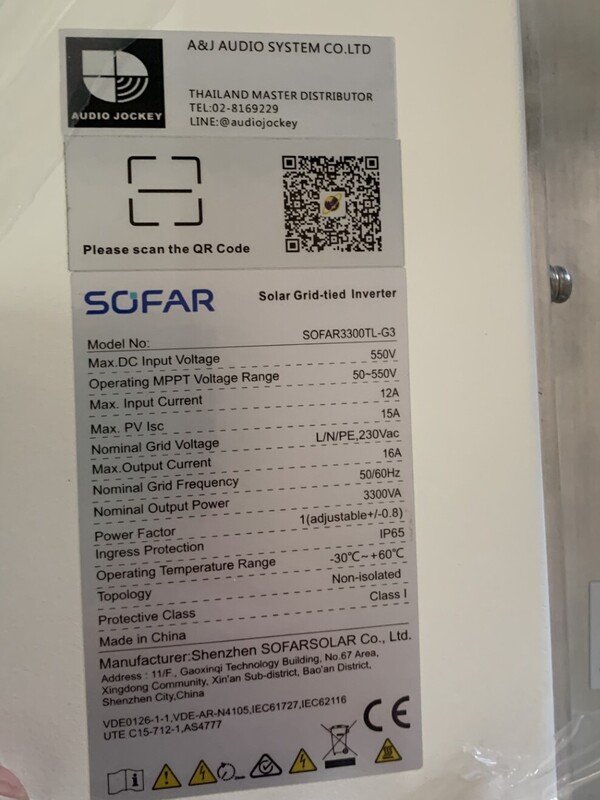
Specification Sofar 3300TL-G3
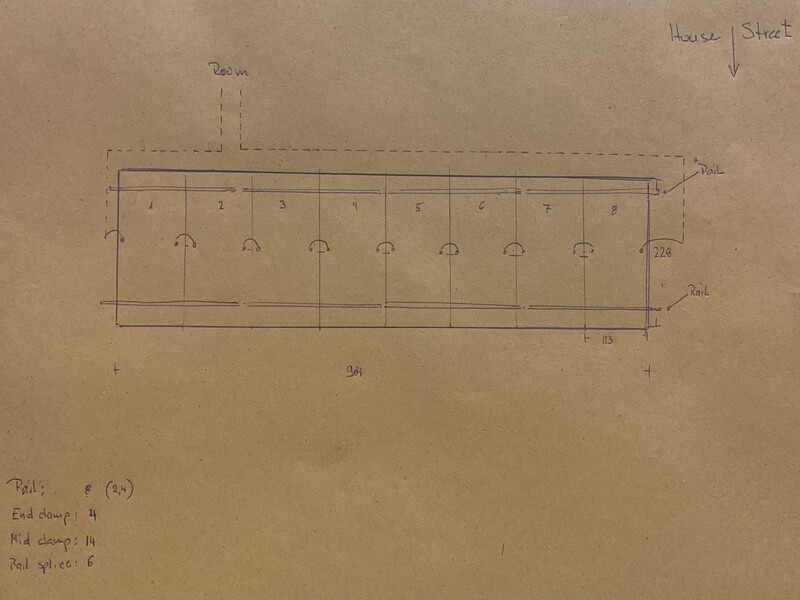
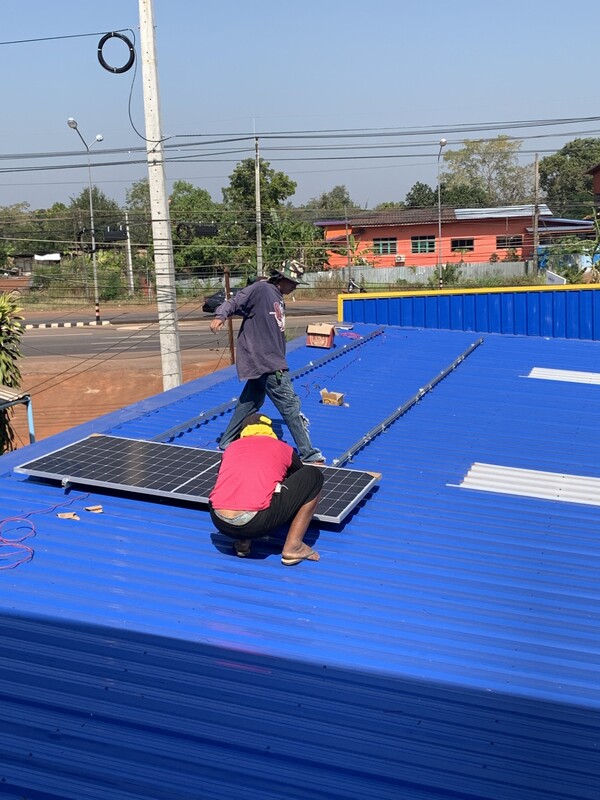
The solar panels were arranged in one row next to each other because the roof had enough space.
For the installation on the roof we use standard materials available from specialist retailers.
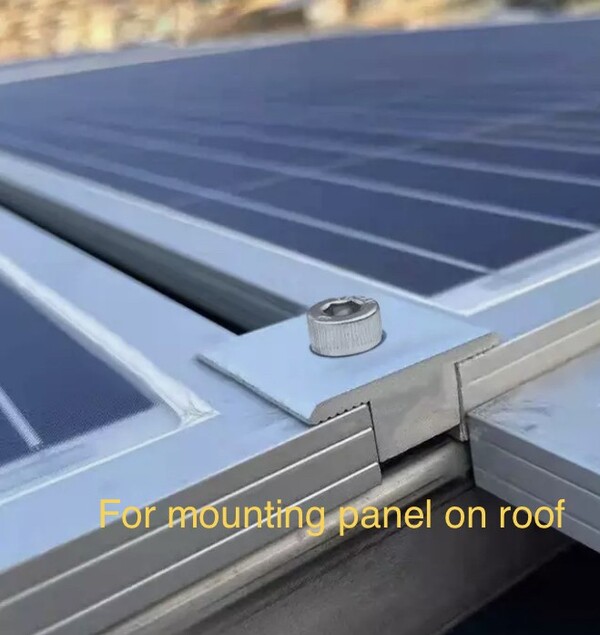
Mid clamp
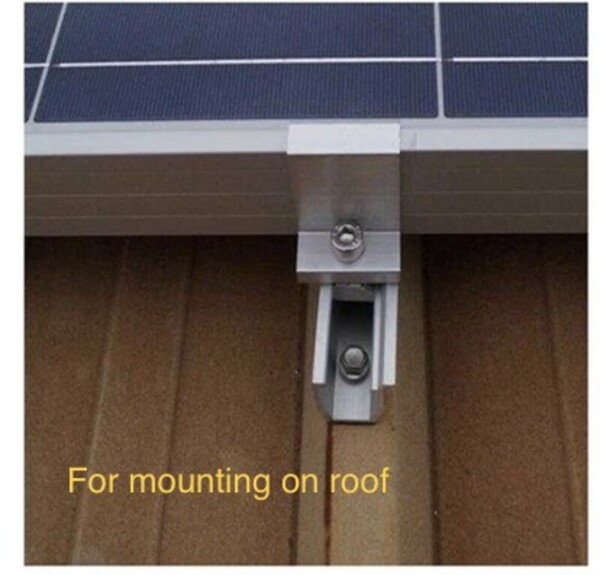
End clamp
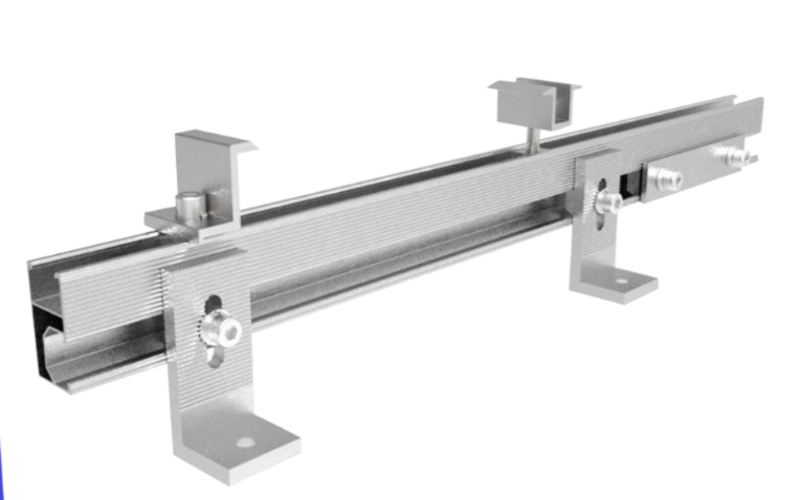
The photo shows all the parts needed for installation on a roof. From top to bottom: end clamp, mid clamp, rail where the panels rest. The rails can be attached to each other with extension pieces to create larger lengths. Finally, the fastening with which the rail is attached to the roof. We use long special screws that are self-tapping and have a rubber seal to prevent moisture from getting through.
The inverter with associated circuit breakers was installed inside the house.
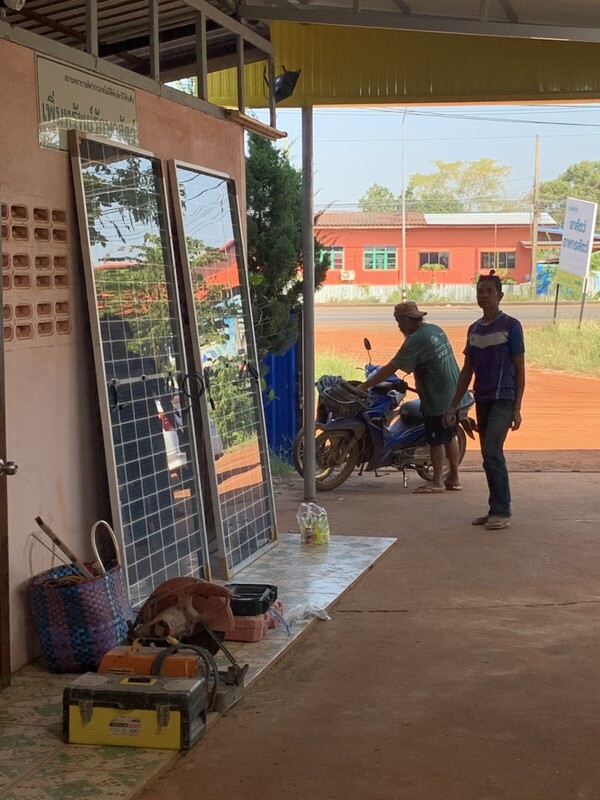
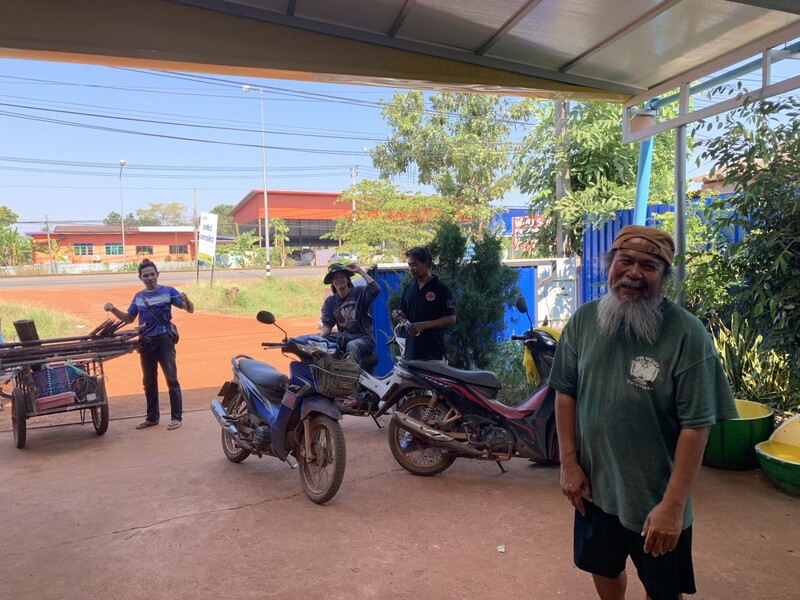
The installation of the solar system was carried out under our supervision by a roofer who also roofed the forecourt. After completing the work, we asked the roofers for a Big Smile.
Some time ago, Leefmilieu Brussel listed the facts that influence the production of solar energy (downloadable as PDF dutch only). The dutch: PDF version. A translated English web version Solar energy facts that influence energy production is available. There are also references to free software for computer models regarding solar energy. A good basis for preliminary calculations of an optimal solar installation.
Thailand pictures and videos can be used and shared with others if the originated page is credited. For credit use this link: ThaiHome.pics Thank you! | Q&A
Content last change: August 05 2024